To make the most of your Spofforth home or property, you know it's important to protect and insulate your Spofforth home. Protecting your exterior walls from extreme weather conditions is a smart move, and at WeDoRender, we offer an extensive range of services and solutions that make your home look great, while preserving it for years to come.
Scratch coat rendering is a crucial part of the process, even if it isn’t the first feature that many people instantly think of. If you want to learn more about scratch coat rendering, and why it is a brilliant choice for Spofforth homeowners, get in touch with us, or read on.
A scratch coat is a layer of mortar or plaster applied to a wall surface before the final finish coat is applied. The purpose of this level is to provide a surface for the finish to adhere to, and to help even out any irregularities in the surface of the exterior walls.
Scratch coats can be made from a variety of materials, including cement, lime, gypsum, and clay. They are typically applied with a trowel or hawk, and then scratched with a tool to create a rough surface for the finish coat to adhere to.
In terms of the coats used with traditional renders, you have the first coat or base level, and the top coat, which is the next coat.
The scratch coat is the initial level. These combines combine to protect the surface of the external walls, and the brick surface beneath.
Yes. The chief reason your property needs two coats is that brick consists of porous materials.
This means the brick wall absorbs moisture and water, and will eventually let water into your home. If your home only had a brick wall, you would suffer from dampness before too long. Any bout of inclement weather and interior walls would be as wet as the outside of the home or a damp sponge.
This is not acceptable, which is why rendering matters, and why a scratch coat render is crucial. WeDoRender is happy to apply all rendering services at your property.
The first thin layer, which is usually about 5mm thick, is the scratch coat. This first coat is commonly applied with a sprayer, or a steel plastering trowel. This application creates a solid base, and this is the layer which protects the property against dampness and moisture.
This is a very clever material because while it is waterproof, preventing water from entering the home, it also allows water to leave the property. Without this element, interior walls would become wet, and would ruin the inside of the home.
So, the leading purpose of this render is to allow moisture out of the property while preventing rainwater from entering.
The scratch coat also ensures there is a smooth level for the top coat to sit over. This creates a more attractive look for the home, with external render filling holes, cracks, bumps, gaps and uneven surfaces. It is always best to render flat, so the bottom layer has a massive impact on the finished look and effectiveness of the property.
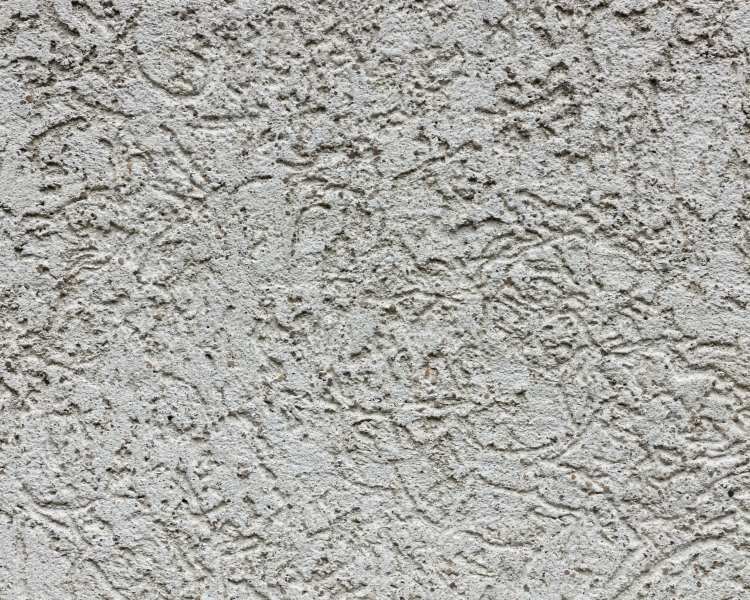
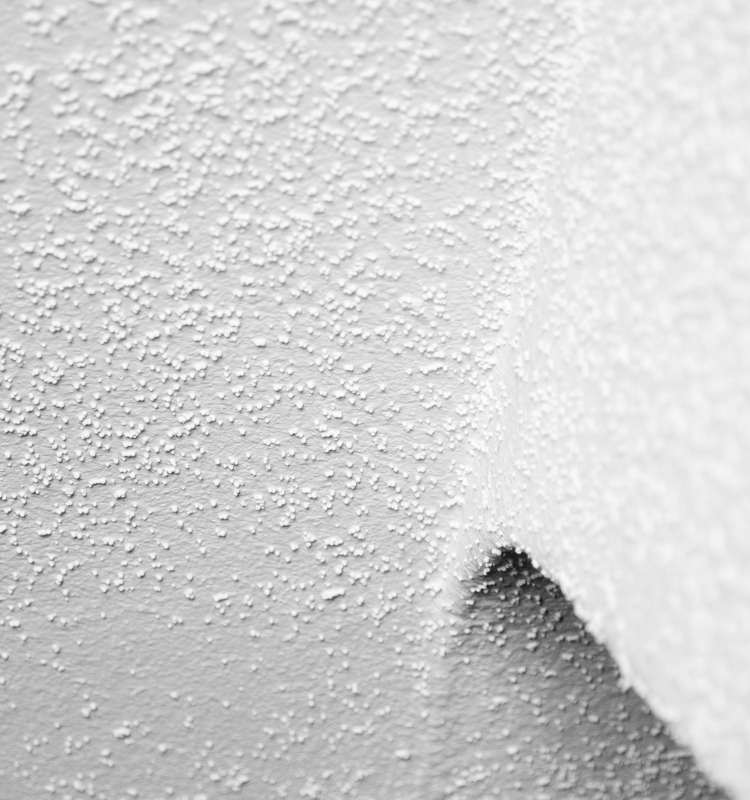
One of the best things about hiring WeDoRender is you don’t need to worry about how render is made, or how it gets to your property. We take care of all of this for you.
However, we know many people are keen to know about the process. We are also happy to share our knowledge, because at WeDoRender, we are rendering specialists, and we want you to feel confident about every part of the process.
With a cement mixer, cement render is made by mixing concrete with plastering sand to create a render mix that is effective for insulation, and looks suitably appealing. With so much sand to choose from, including coarse sand and sharp sand, we appreciate it's tough for people to know what they need. You could ask builders merchants for advice, but with our help, you don't need to worry about it, we take care of everything.
As the render mix dries, the mixture is marked in a circular motion, and this is what leads to the first coat being known as scratch coat. While there is an aesthetic element to this step, there is also a functional reason to mark the initial surface in this way.
By scratching the initial coat, it is easier for the next level, which is the top coat, to stick to it. This step makes sure there is a bond between the top and bottom layer, which enhances the effectiveness of the render.
If the initial layer isn’t applied to a brick wall, there is a high chance the render is unable to flatten the wall. This would mean that air is trapped between the wall and the render, and this enhances the chances of rendering cracking or blowing out.
Before too long, render crumbles, and brick walls are exposed to weather erosion.
You avoid this stress and inconvenience thanks to the scratch coat float, delivering a flat finish and a straightedge to your rendered wall. With this smooth render and straight edge float, you develop the platform for a reliable wall. Then, this wall can be coloured in any shade or hue you like, you have the chance to make your home as stylish and as functional as can be.
It doesn’t take too long for this scratch coat to dry, but the amount of time required varies from job to job. This is because so many different variables are involved with the process. The time to dry render depends on how thick the mix is, the climate of the local area, what additives are in the mix, what sand is in the mix and the weather during the drying phase.
No matter the size or shape of your home, or what you want to achieve in the short and long term, render is a fantastic way to protect your home. If you require any render services, WeDoRender is here to help, and we look forward to assisting you.
The benefits of this coating are that plastering this material creates a more uniform surface for the finish, and it can also help improve the adhesion of the finish to the underlying substrate.
Also, this finish doesn't need much maintenance. An occasional wipe with clean water will ensure it looks great for many years to come.
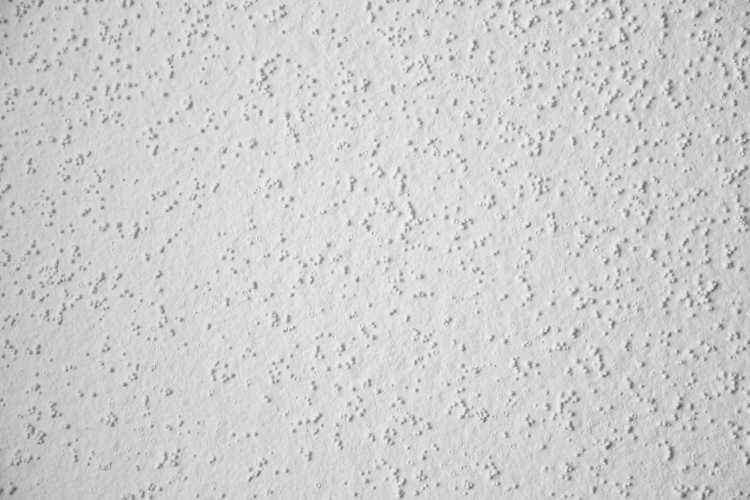
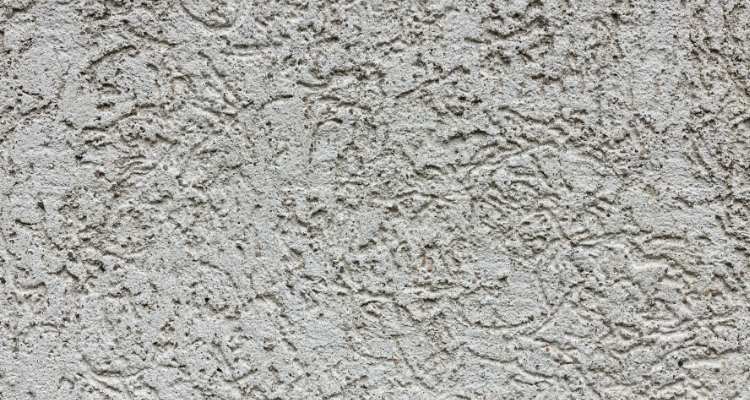
No, you do not need UK planning permission with scratch coat rendering. This type of rendering is typically used for repairing or restoring existing buildings, and does not require any special permissions.
Scratch coat rendering is a type of render that is applied to a wall in order to provide a key for the subsequent layers of render. This type of render is typically used on masonry surfaces, and can be either hand-applied with a brush or sponge or machine-applied.
Scratch coat rendering is typically composed of a Portland cement and sand mix, and is applied in a thin manner (approximately 3-5mm of thickness). Once applied, the render will need to be left to dry for 24 hours before the next level of render can be applied. If you can do so on a dry day, with a touch of sun, it'll help the process immensely!
In comparison to other types of render, base coat rendering provides a much stronger mechanical key for the subsequent layers of render. This makes it ideal for use on masonry surfaces, as it provides a more secure bond between the surface and the render. Additionally, scratch coat rendering is much less likely to crack or flake off over time, making it a more durable option for both internal and external use.
When pricing the cost of the initial finish, you need to consider the full cost of rendering a wall. There are a lot of materials involved, including lime, plastering sand and cement, there is plastering work, and the best mix needs to be applied smoothly, which might require a cement mixer.
There is a lot of labour work involved with renders, and if you're looking at the total cost of a rendered wall, start from a price of close to £70 per square metre for rendering work. This is according to Checkatrade as of the summer of 2022.
Of course, the price varies on many aspects such as quality and volume of materials, size of the property, location and so much more.
This is why it is best to call on WeDoRender, and we will provide you with a bespoke quote. Why not contact us today for a quick example on prices for projects similar to your home, and we can arrange a visit to see your home in all its glory.
Requesting a bespoke quote, which comes from a property visit, is essential in paying the fairest price for a job.

There is no definitive answer as to whether or not you need two coats with scratch coat rendering.
Obviously, you are using at least two coats in total, with the top and bottom layer, but for those wanting to protect their building from wet days, you can see why adding another layer of scratching render makes sense.
It depends on the specific project and the material used for the project. If you are using a high-quality render, then one coat may be sufficient. However, if you are using a lower quality render or if the finish is particularly uneven, then a second coat may be necessary.
WeDoRender takes every job on its individual merits, and we'll advise you on the best plastering and rendering processes. We offer detailed information to all customers, down to the recommended thickness of render for your building. We want to ensure you enjoy a smooth rendered finish which prevents damp from entering your house, home or flat.
For essential guidance and the best standard of service, rely on WeDoRender to care for your walls and home.
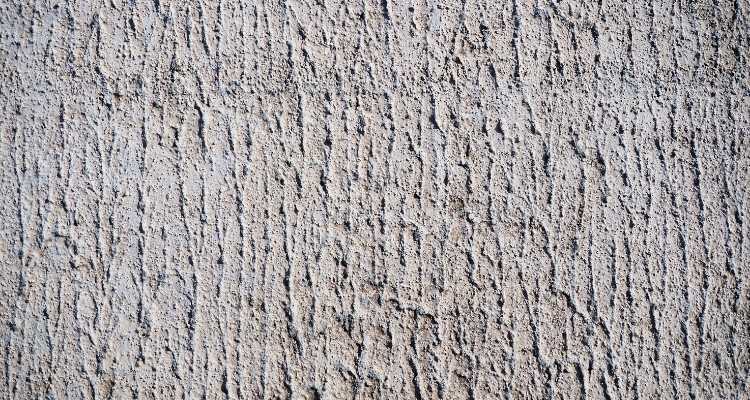
Yes, you can render a house with scratch coat rendering. This type of rendering is typically used on masonry surfaces, such as brick or concrete. It involves applying a first coat of mortar to the surface, then a second coat that is scratched to create a textured finish.
It is best to avoid building sand for this render as it shrinks and cracks. It is best to use specialist rendering sand or plastering sand, as these will protect the finished appearance and flexibility of the render.
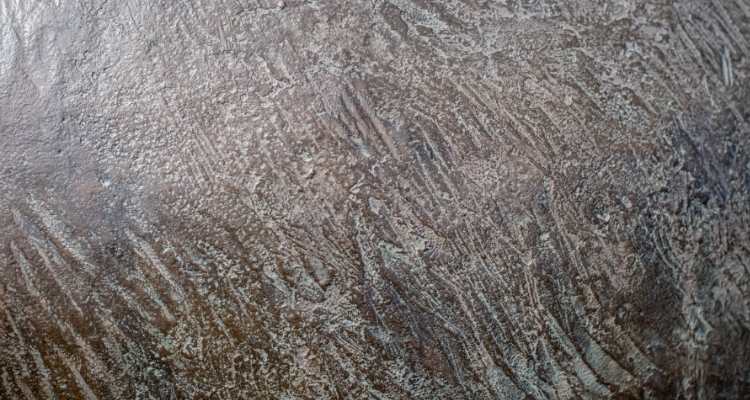
You can do, but make sure the previous coat is in good condition on the wall. If you can pull at it with cracks or breaks appearing, it is best to apply a new coat to the wall.
The thought of more plastering and making a new mix with cement seems annoying, but for the best results, you need a flat and reliable surface on the wall.

Lime is a useful addition to scratch coat render for two key reasons:
Lime improves the elasticity of the mix
Lime prevents the mix from cracking after it dries
The most common form of lime used with rendering is hydrated lime, which is also suitable when you need added lime in the mixture. Lime helps to make the mix creamy, adding body and stickiness.
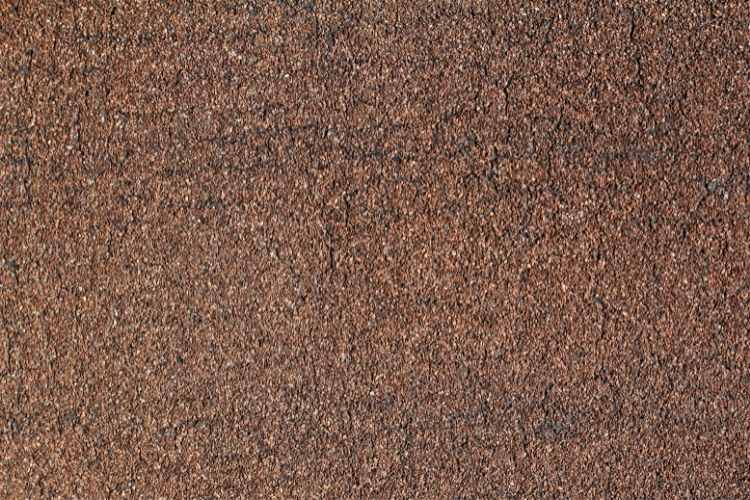
Yes, in addition to lime, the most common elements added to a render mix are additives which improve how it dries and bonds, and colour-altering pigments.
As you’d expect, having scratch coloured rendering creates flexibility in styling a property. No matter what colour you want at home, you can mix and create it, and there are benefits in having the render coloured.
With coloured render, you don’t need to paint, and you enjoy a better mixed material. Painting can create a patchy or inconsistent finish, which often hampers the overall look of the render. So, if you are looking for the best possible finish, adding colour pigments to a scratch coat mix is a sensible idea.
For all building rendering work, you should call on an expert who offers essential services and advice. WeDoRender helps you keep damp out of your home, and protects your solid walls. We are Spofforth scratch rendering specialists, and we do whatever we can to ensure you love your property, and that it remains in excellent condition.
Contact us today to see how we can help you protect and safeguard your property.
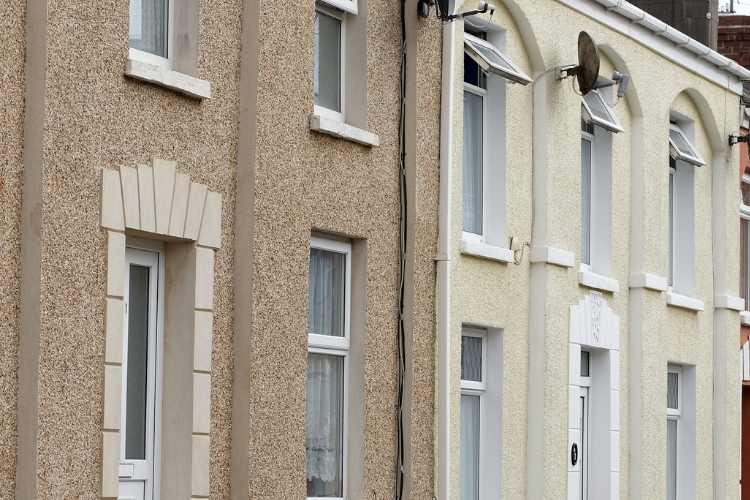

There are always two coats of render. The scratch coat serves as the render's basis and the foundation for the entire product. This provides the most strength to the wall while simultaneously providing the most waterproofing. This is what makes your building water tight and prevents moisture from entering your home.
If the brick you intend to scratch coat has a smooth finish or a particularly crumbly texture, it must first be restored. Sand or water blast the paint, dirt, or oil to create a rough surface before applying the paint, dirt, or oil.
The mix for the scratch coat, as we call it in the trade, should be 4:1; the best method to do this is to gauge the sand in a 12 litre bucket purchased from any merchant ( builders bucket).
YES. SBR combined with OPC cement is one of numerous formulations available on the market. This produces a slurry, which is then applied with a brush. I then wait 24 hours for it to cure before applying a second layer, but this time I follow it up with a sand cement scratch coat while the slurry is still wet.